How to Seal an Armagard Digital Signage Enclosure Without Replacing it
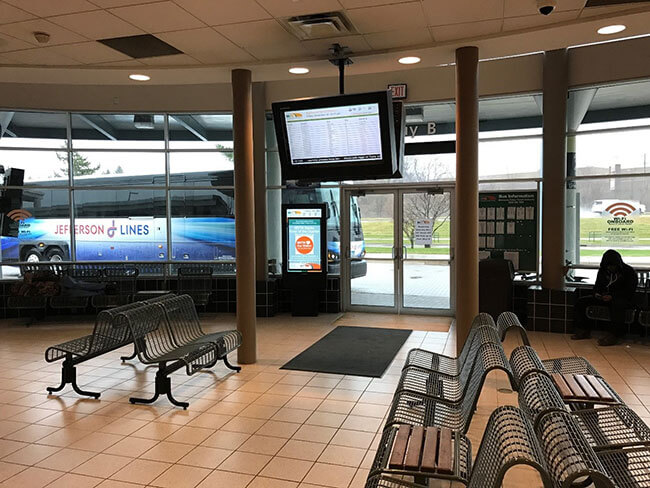
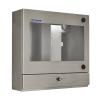
Upgrading an Armagard digital signage enclosure from an IP54 rating to an IP66 (NEMA 4X for the US market) DOES NOT require you to buy a new unit. Ideally, you should order an enclosure as a sealed unit. However, sealing your existing unit is simple enough. Here we demonstrate how to seal a PDS digital signage enclosure...
There's a bit of manual labour involved, so you will need some tools. Grab a pozi screwdriver and/or a power drill/driver with a 7mm socket. You're all set...
Step #1 - Turn off the power supply to your digital signage enclosure system.
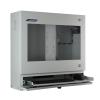
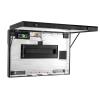
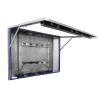
Step #2 - Open the enclosure door until the struts lock in place, as shown in [Fig 1].
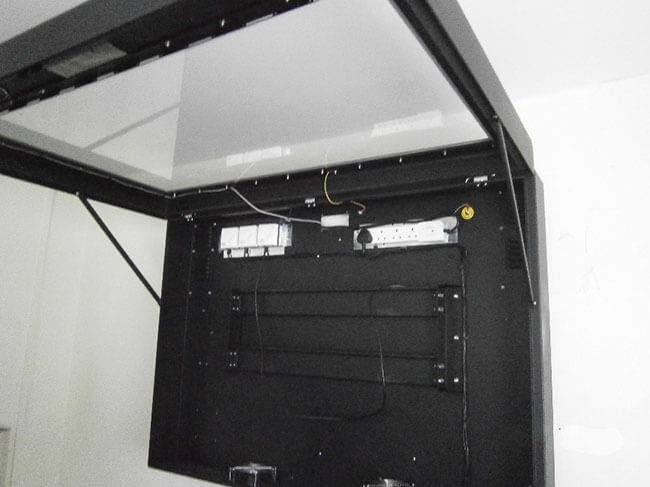
Step #3- Remove your screen from the enclosure, making sure all cables have been unplugged to prevent damage to your digital signage screen.
Step #4 - With the enclosure open, beneath the front edge you will find three filter plates currently covering the fans. Unscrew the M3 counter suck screws (using your tools) and remove the plates as shown in [Fig 2].
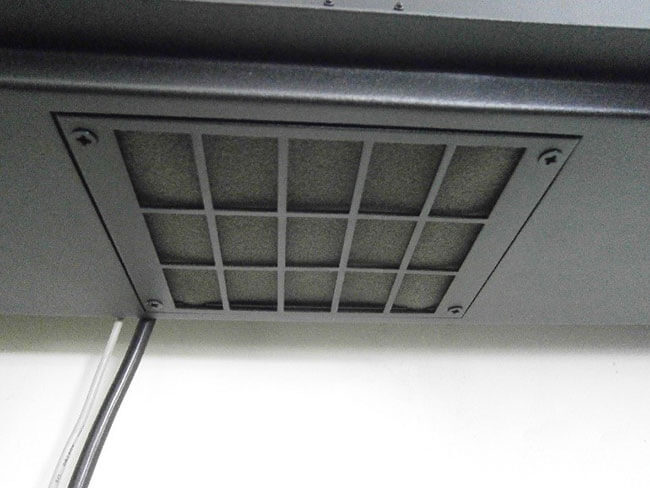
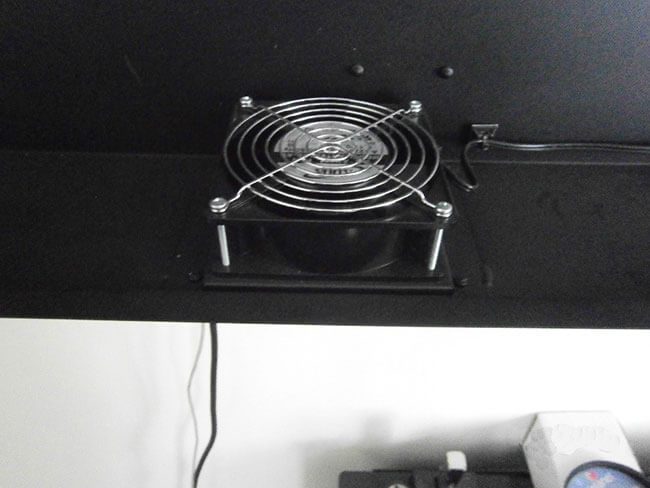
Step #5- With the filter plates removed, detach the two fans (as shown in Fig 3) by unscrewing them.
Step #6 - Clean the interior of the digital signage enclosure, removing any dust, dirt or debris.
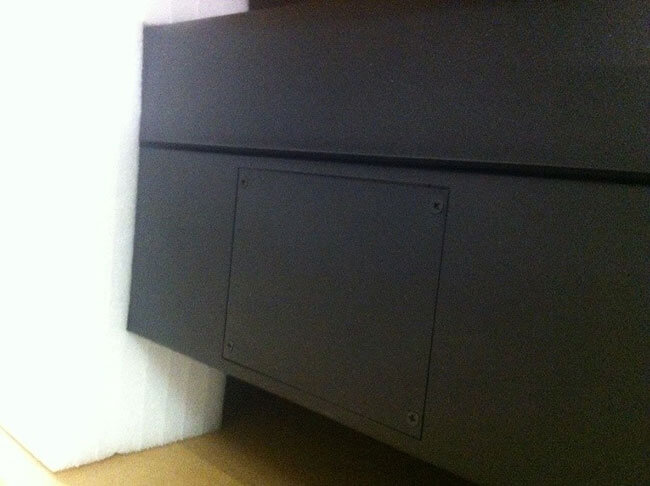
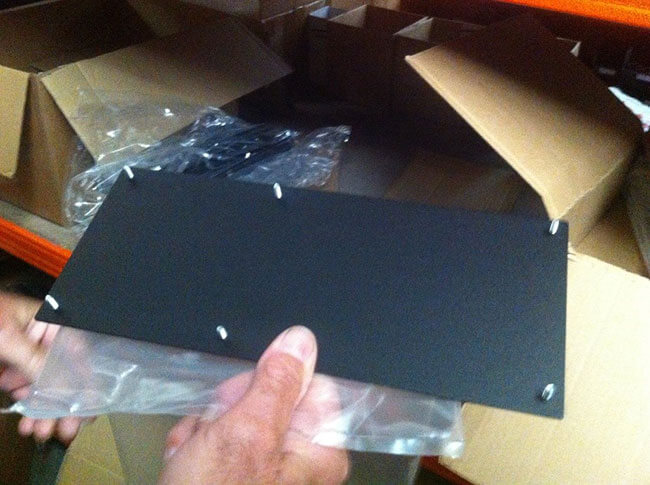
Step #7 - Attach new metal plates using M3 screws [already provided], where you removed the previous three filter plates (Step 4). First, put nylon washers on the M3 screws, then proceed with attaching the plates [Fig 4]. This will seal the fans.
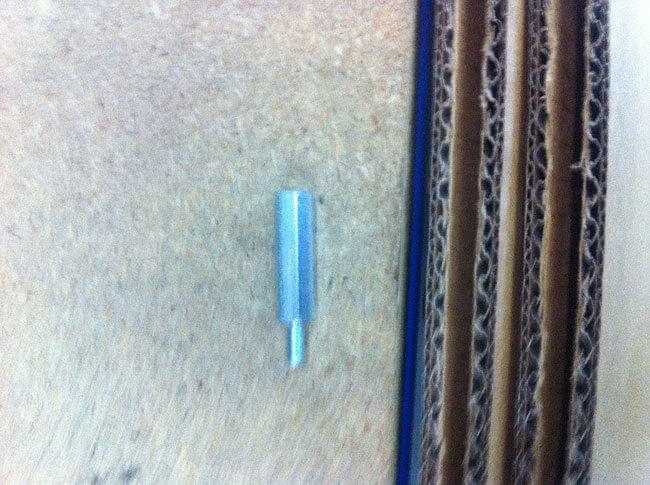
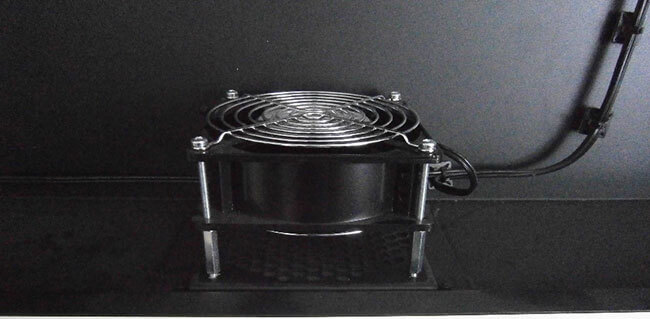
Step #8 - Reconnect the fans using 25mm standoffs, as shown in [Fig 5], positioning finger guards, as shown in [Fig 6], at each side of the fans and offset from the fans themselves.
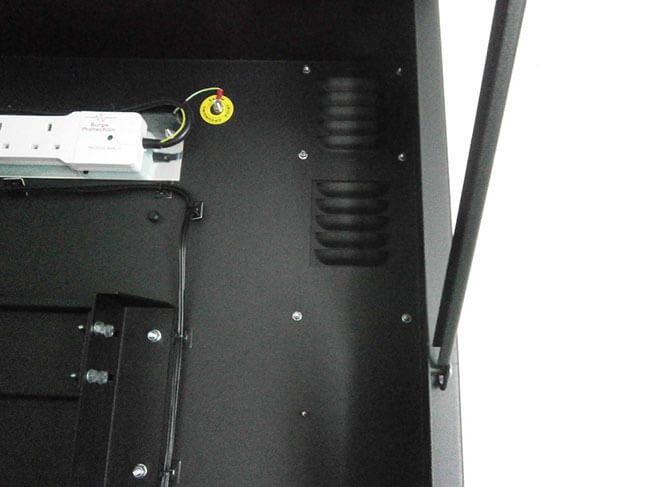
Step #9 - Next, using your power drill/driver with 7mm socket, remove the two louvre plates [already supplied - Fig 7] and replace with blanking plates using M4 nylock nuts and washers [already supplied - Fig 8].
Step #10 - Reconnect screen.
Step #11 - Close enclosure and switch on power supply.
Why would a digital signage enclosure need to be sealed?
If you're using a digital signage enclosure in an industrial setting, for instance, and you bring in some new machinery that creates an elevated level of dust or metal filings in the air you would need to seal your unit to prevent damage to internal hardware.
If you move premises, taking your digital signage enclosure with you, again the environment will most likely differ from the original industrial setting in which you were using it. It might be that you're using digital signage indoors for commercial purposes. If you wanted to shift out outdoors, it would require sealing.
However, your enclosure system would need several other components, including heat and cooling mechanisms to survive the rigours of outdoor use. Blanking plates are fitted as standard to Armagard digital signage enclosures, If you order a sealed unit. For existing, unsealed units, contact us to discuss enclosure sealing options.
To talk to an Armagard representative about digital signage enclosure options, call +1-866-434-0807.
